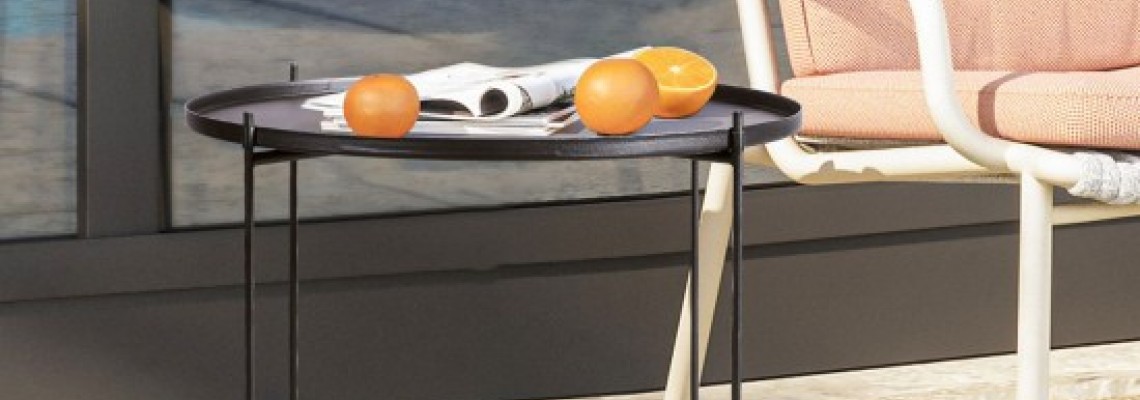
Measure the area where you want to place your metal side table and use a pencil and paper to draw a rough outline of the shape you want. Make sure to include measurements for the height, width, and depth of the table.
Cut out the rough outline using a saw, being careful not to cut too deeply into the metal sheet. Sand the edges of the cutout until they are smooth and even.
Use a drill to drill holes at the top of the table for screws to attach it to any existing furniture or structure in your outdoor space. If you're building something freestanding, you can use brackets or other supports to keep the table stable.
Apply a coat of spray paint (if desired) to give your metal side table a fresh look. Allow the paint to dry completely before moving on to the next step.
Use screws to attach any additional features or decorations to your metal side table, such as legs or handles. Be sure to use strong screws that can withstand the weight of any objects you plan to attach.
Test your metal side table by placing heavy objects on it to make sure it can hold up without falling apart. If necessary, adjust any attachments or supports to ensure stability.
Finally, enjoy your new outdoor metal side table! Whether you're using it as a coffee table or just as a decorative element in your yard, this versatile piece of furniture is sure to bring beauty and functionality to your outdoor space."

Leave a Comment